# 自定义导航组件
路由跳转到内容发布页
		// 监听原生标题导航按钮点击事件
		onNavigationBarButtonTap(e) {
			switch (e.index) {
				case 1:
				// 打开发布页面
				uni.navigateTo({
					url:'../add-input/add-input'
				})
					break
			}
		}
1
2
3
4
5
6
7
8
9
10
11
2
3
4
5
6
7
8
9
10
11
禁用原生导航, 自定义导航注意事项:
文字跑到手机状态栏最上面, 解决办法:
引入三个组件到components中 uni-icons, uni-nav-bar, uni-status-bar
在 add-input组件中引入
<template>
	<view>
		<!-- 自定义导航栏 -->
		<uni-nav-bar left-icon="arrowleft" title="标题" @clickLeft="back" />
	</view>
</template>

import uniNavBar from '../../components/uni-nav-bar/uni-nav-bar.vue'
....
1
2
3
4
5
6
7
8
9此时手机端的标题栏生效, 但是还处于状态栏之上, 还需要调整, 配置一个参数
<uni-nav-bar :statusBar="true" left-icon="arrowleft" title="标题" @clickLeft="back" />1需要添加导航栏右边文字, 再使用传参的方式
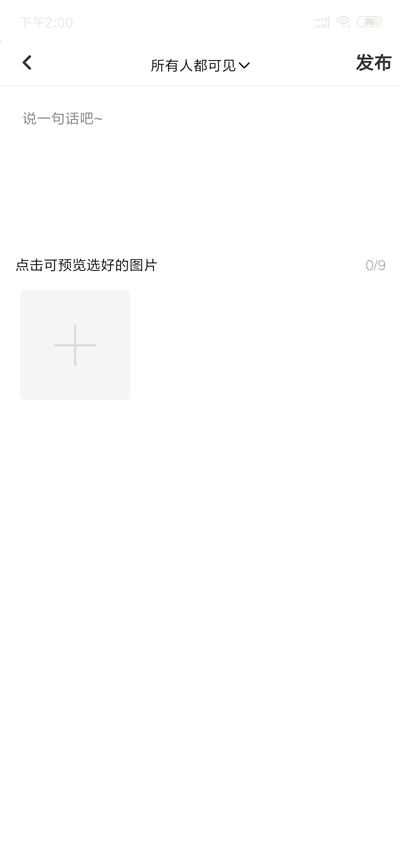
<!-- 自定义导航栏 -->
<uni-nav-bar :statusBar="true" rightText="发布" left-icon="arrowleft" title="标题" @clickLeft="back" />
1
2修改中间部分, 通过插槽的方式展示
<template>
	<view class="add-input">
		<!-- 自定义导航栏 -->
		<uni-nav-bar :statusBar="true" rightText="发布" left-icon="arrowleft" @clickLeft="back" @clickRight="submit">
			<view class="u-f-ajc" @tap="changelook">
				<text>{{yinsi}}</text>
				<view class="icon iconfont icon-xialazhankai"></view>
			</view>
		</uni-nav-bar>
	</view>
</template>

<script>
	let changelook = ['所有人可见', '仅自己可见']
	import uniNavBar from '../../components/uni-nav-bar/uni-nav-bar.vue'
	export default {
		components: {
			uniNavBar
		},
		data() {
			return {
				yinsi: '所有人可见'
			};
		},
		methods: {
			// 返回
			back() {
				uni.navigateBack({
					delta: 1
				})
			},
			// 发布
			submit() {
				console.log('发布')
			},
			// 隐私
			changelook() {
				uni.showActionSheet({
					itemList: changelook,
					success: (res) => {
						this.yinsi = changelook[res.tapIndex]
					}
				});
			}
		}
	}
</script>

<style lang="less" scoped>
	// 深度选择器
	.add-input {
		/deep/ .uni-navbar__header-container {
			justify-content: center;
		}
	}
</style>
1
2
3
4
5
6
7
8
9
10
11
12
13
14
15
16
17
18
19
20
21
22
23
24
25
26
27
28
29
30
31
32
33
34
35
36
37
38
39
40
41
42
43
44
45
46
47
48
49
50
51
52
53
54
55
56
← 搜索页开发(下) textarea组件使用 →