# 26.React路由基础
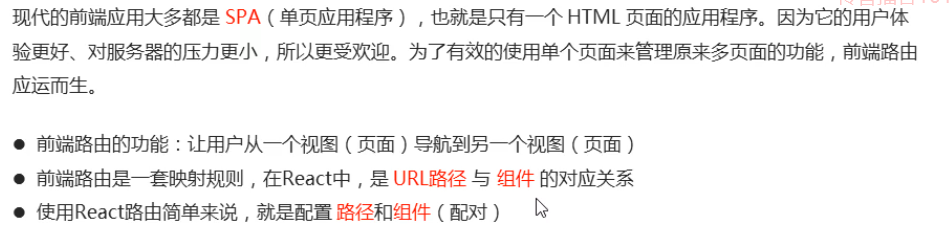
# 1.React路由介绍
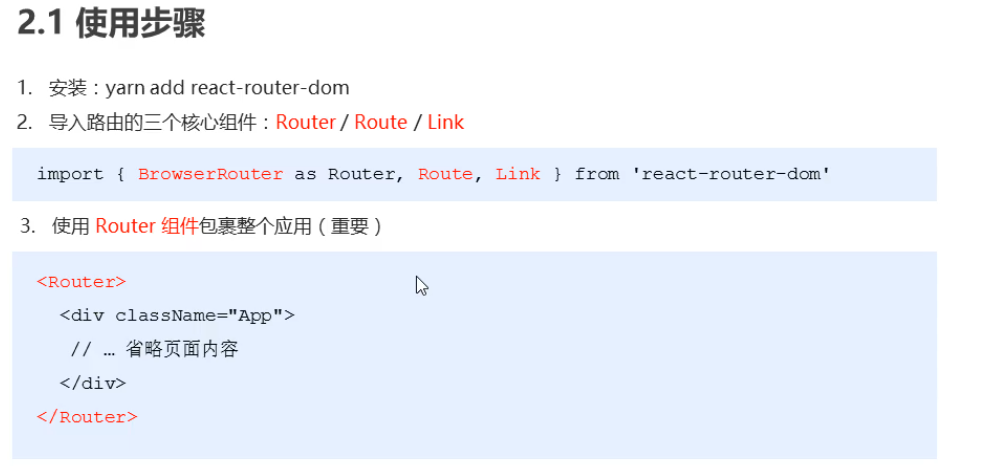
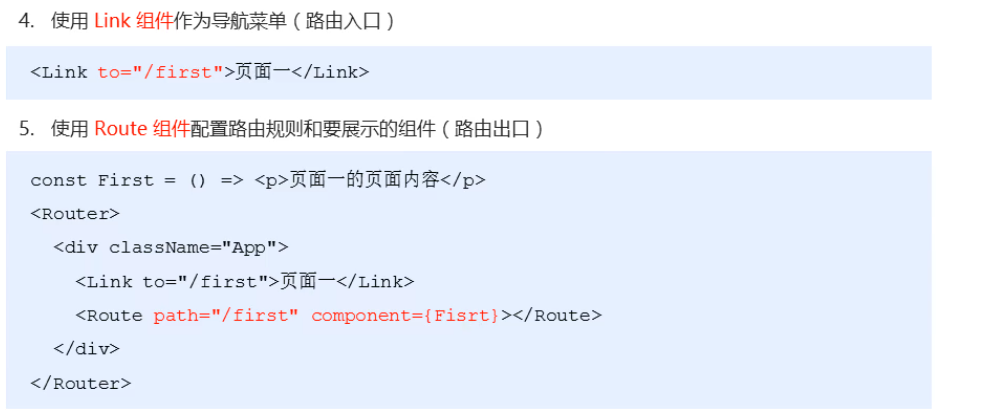
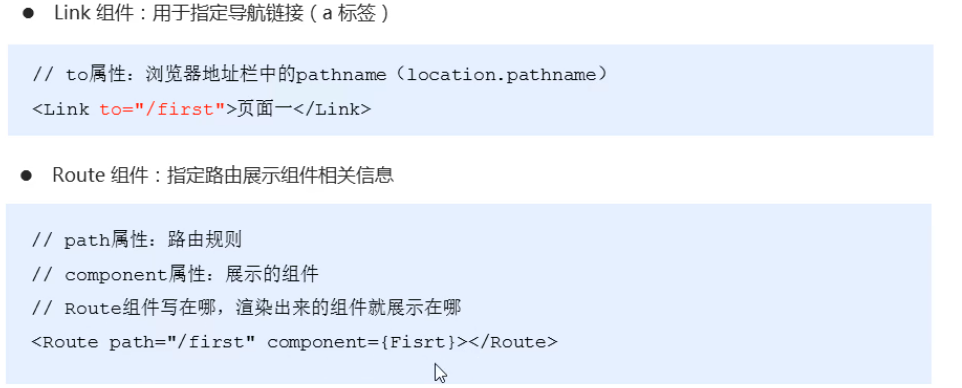
# 2.路由的基本使用
相关代码:
// 使用路由
import { BrowserRouter as Router, Route, Link } from 'react-router-dom'

const First = () => <p>页面一的内容</p>

class Routers extends React.Component {
  render() {
    return (
      <Router>
        <div>
          <h1>路由基础</h1>
          {/* 指定路由入口 */}
          <Link to="/first">页面一</Link>

          {/* 指定路由出口 */}
          <Route path="/first" component={First}></Route>
        </div>
      </Router>
    )
  }
}
1
2
3
4
5
6
7
8
9
10
11
12
13
14
15
16
17
18
19
20
21
2
3
4
5
6
7
8
9
10
11
12
13
14
15
16
17
18
19
20
21

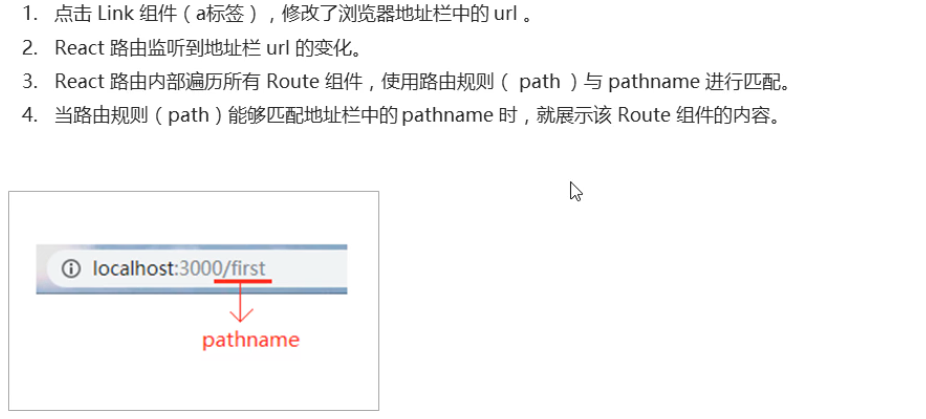
# 3.路由的执行过程
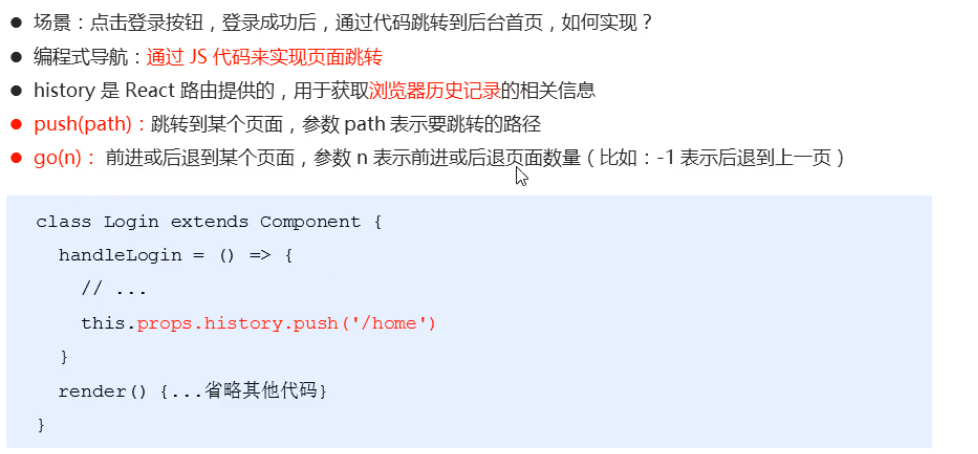
# 4.编程式导航
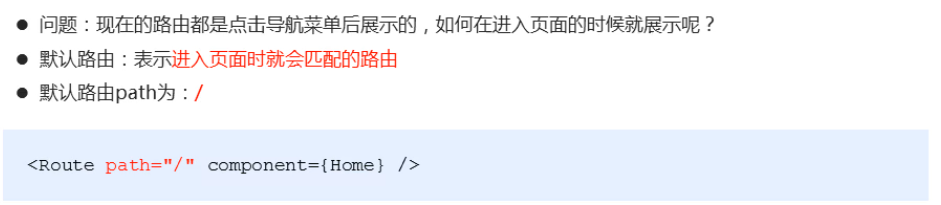
# 5.默认路由
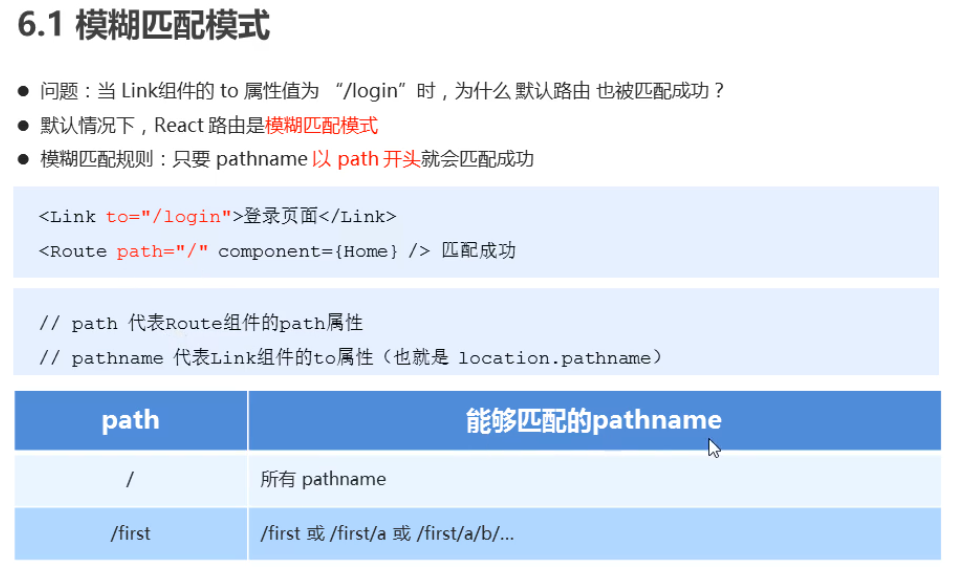
# 6.匹配模式
# 1.模糊匹配
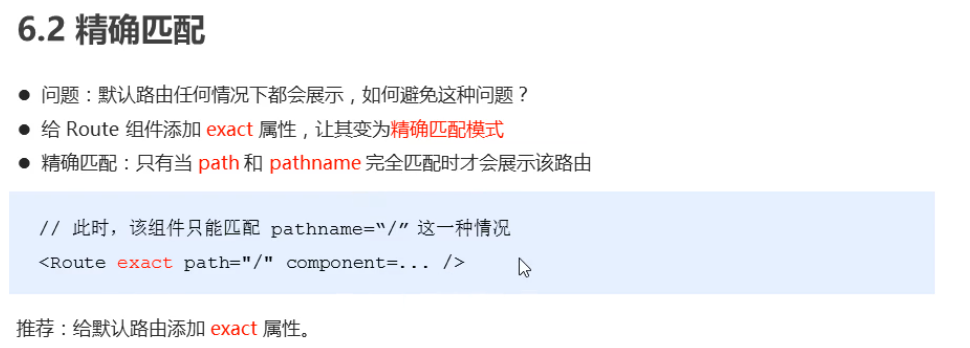
# 2.精准匹配
# 7.路由重定向
import { Switch, Route, Redirect } from 'react-router-dom'

 {/*可切换的路由组件*/}
<Switch>
    <Route path="/about" component={About} />
    <Route path="/home" component={Home} />
    <Redirect to="/about" />
</Switch>
1
2
3
4
5
6
7
8
2
3
4
5
6
7
8
# 8.向路由组件传递id
传递id的组件:
import MessageDetail from './message-detail'

<Route path="/home/messages/messagedetail/:id" component={MessageDetail}></Route>
1
2
3
2
3
接收id的组件:
export default function MessageDetail(props) {
  // 得到请求参数中的id   ⭐⭐⭐
  const { id } = props.match.params
  // debugger   ⭐⭐⭐ 断点必备
  // 查询对应的message
  // 如果路由id是 string, 数据id是number 需要进行转化 *1
  const message = allMessage.find((m) => m.id === id*1) // 返回第一个结果为true的元素
  return (
    <ul>
      <li>ID: {message.id}</li>
      <li>NAME: {message.name}</li>
      <li>CONTENT: {message.content}</li>
    </ul>
  )
}
1
2
3
4
5
6
7
8
9
10
11
12
13
14
15
2
3
4
5
6
7
8
9
10
11
12
13
14
15
# 9.多种路由跳转方式
  ShowDetail = (id) => {
    this.props.history.push(`/home/message/${id}`)  // 编程式导航
  }

  ShowDetail2 = (id) => {
    this.props.history.replace(`/home/message/${id}`)  // 编程式导航 不需要回退 用于点击注册到登录页面
  }

  back = () => {
    this.props.history.goBack()  // 回退上一页
  }

  forward = () => {
    this.props.history.goForward()
  }
1
2
3
4
5
6
7
8
9
10
11
12
13
14
15
2
3
4
5
6
7
8
9
10
11
12
13
14
15
# 10.路由链接和非路由链接的区别
路由连接:
- 不发送请求
非路由连接:
- 发请求
# 11.路由基础总结

# 12.如何编写路由效果?
1.先编写路由组件
2.然后在父路由组件中指定
a. 路由链接: <NavLink> 或 <Link> 或自己包装的 路由连接
b. 路由: <Route>
# 13.获取路由路径
this.props.location.pathname
1
- 注意: 这是路由组件获取路由的api
- 如果是非路由组件, 应该如何获取路径呢? 请看下方
# 14.非路由组件如何获取路径?
// 希望在非路由组件中使用路由库的api
// withRoute()
import { withRouter } from 'react-router-dom'

class NavFooter extends React.Component {
  static propTypes = {
    navList: PropTypes.array.isRequired
  }
  render() {
    const { navList } = this.props
    const pathname = this.props.location.pathname  // 非路由组件经过包装, 就可以使用location ⭐⭐⭐
    return (
      <TabBar>
        {
          navList.map(nav => (
            <Item key={nav.path}
              title={nav.text}
              icon={{ uri: require(`./images/${nav.icon}.png`) }}
              selectedIcon={{ uri: require(`./images/${nav.icon}-selected.png`) }}
              selected={pathname === nav.path}
              onPress={() => {
                this.props.history.replace(nav.path)
              }}
            ></Item>
          ))
        }
      </TabBar>
    )
  }
}

// 向外暴露 withRouter 包装产生的组件
// 内部向组件中传入一些路由组件特有的属性: history/location/match
export default withRouter(NavFooter)
1
2
3
4
5
6
7
8
9
10
11
12
13
14
15
16
17
18
19
20
21
22
23
24
25
26
27
28
29
30
31
32
33
34
2
3
4
5
6
7
8
9
10
11
12
13
14
15
16
17
18
19
20
21
22
23
24
25
26
27
28
29
30
31
32
33
34