# 23.高阶组件
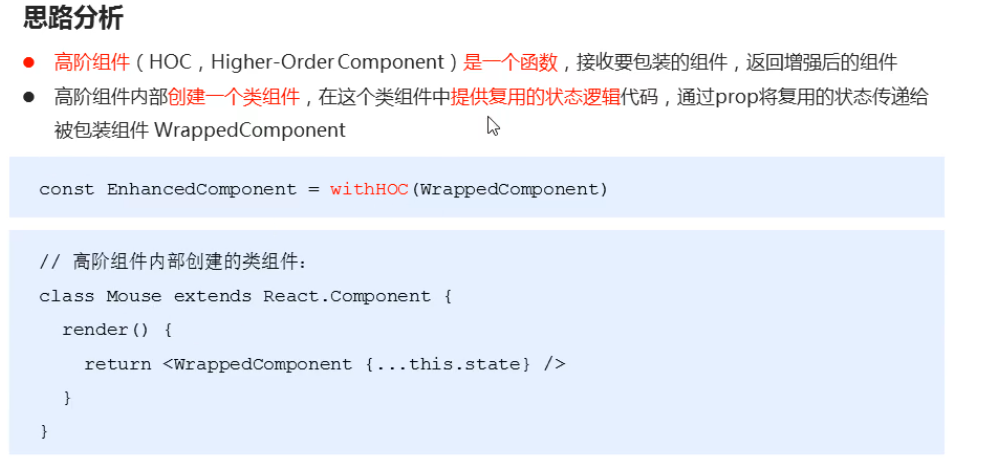
# 1.概述
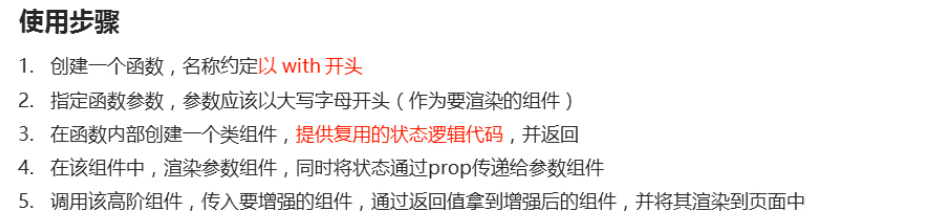
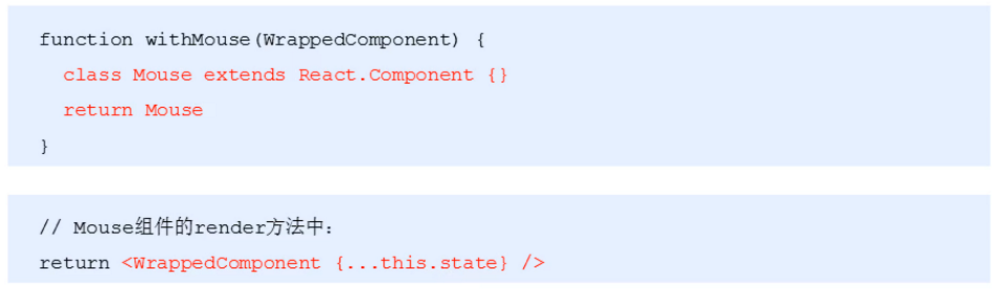
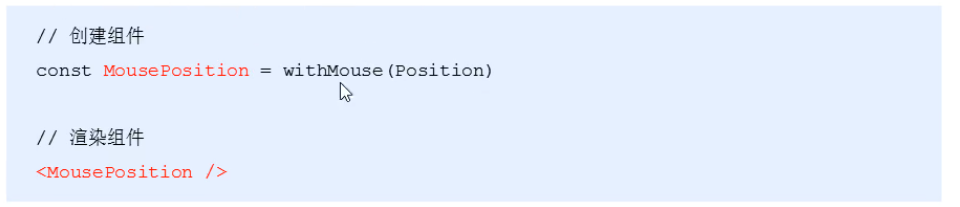
# 2.使用步骤
调用上面的高阶组件
相关代码:
// 2.创建高阶组件
function withMouse(WrappeComponent) {
  class Mouse extends React.Component {
    // 提供状态
    state = {
      x: 0,
      y: 0
    }
    handleMouseMove = e => {
      this.setState({
        x: e.clientX,
        y: e.clientY
      })
    }
    // 控制鼠标状态的逻辑
    componentDidMount() {
      window.addEventListener('mousemove', this.handleMouseMove)
    }
    componentWillUnmount() {
      window.removeEventListener(('mousemove', this.handleMouseMove))
    }
    render() {
      return <WrappeComponent {...this.state}></WrappeComponent>  ⭐⭐⭐
    }
  }
  return Mouse
}

// 2.用来测试高阶组件
const Position = props => (
  <p>
    鼠标当前位置: (x: {props.x}, y:{props.y})
  </p>
)

// 3.获取增强后的组件
const MousePosition = withMouse(Position)

// 4.使用高阶组件
class Higher extends React.Component {
  render() {
    return (
      <div>
        <h1>高阶组件</h1>
        {/* 渲染增强后的组件 */}
        <MousePosition />
      </div>
    )
  }
}
1
2
3
4
5
6
7
8
9
10
11
12
13
14
15
16
17
18
19
20
21
22
23
24
25
26
27
28
29
30
31
32
33
34
35
36
37
38
39
40
41
42
43
44
45
46
47
48
49
50
2
3
4
5
6
7
8
9
10
11
12
13
14
15
16
17
18
19
20
21
22
23
24
25
26
27
28
29
30
31
32
33
34
35
36
37
38
39
40
41
42
43
44
45
46
47
48
49
50
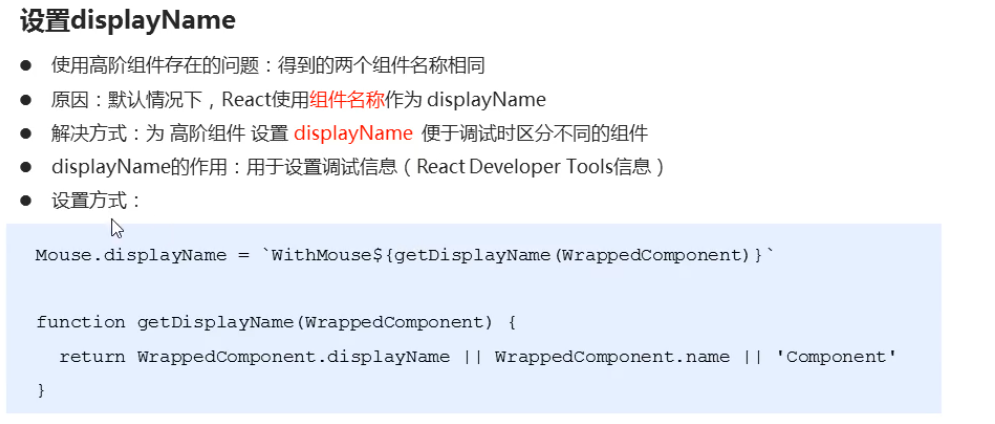
# 3.设置displayName
# 3.相关代码:
// 创建高阶组件
function withMouse(WrappeComponent) {
  class Mouse extends React.Component {
    // 提供状态
    state = {
      x: 0,
      y: 0
    }
    handleMouseMove = e => {
      this.setState({
        x: e.clientX,
        y: e.clientY
      })
    }
    // 控制鼠标状态的逻辑
    componentDidMount() {
      window.addEventListener('mousemove', this.handleMouseMove)
    }
    componentWillUnmount() {
      window.removeEventListener(('mousemove', this.handleMouseMove))
    }
    render() {
      return <WrappeComponent {...this.state}></WrappeComponent>
    }
  }

  // 设置 displayName
  Mouse.displayName = `WithMouse${getDisplayName(WrappeComponent)}`  ⭐⭐⭐

  return Mouse
}

// 封装 displayName 方法  ⭐⭐⭐
function getDisplayName(WrappeComponent) {
  return WrappeComponent.displayName || WrappeComponent.name || 'Component'
}

// 用来测试高阶组件
const Position = props => (
  <p>
    鼠标当前位置: (x: {props.x}, y:{props.y})
  </p>
)

// 移动天使组件
const Angel = props => (
  <img src={img} alt="猫" style={{ position: 'absolute', left: props.x - 50, top: props.y - 50 }} />
)

// 获取增强后的组件
const MousePosition = withMouse(Position)

const MouseAngel = withMouse(Angel)

class Higher extends React.Component {
  render() {
    return (
      <div>
        <h1>高阶组件</h1>
        {/* 渲染增强后的组件 */}
        <MousePosition />
        <MouseAngel />
      </div>
    )
  }
}
1
2
3
4
5
6
7
8
9
10
11
12
13
14
15
16
17
18
19
20
21
22
23
24
25
26
27
28
29
30
31
32
33
34
35
36
37
38
39
40
41
42
43
44
45
46
47
48
49
50
51
52
53
54
55
56
57
58
59
60
61
62
63
64
65
66
2
3
4
5
6
7
8
9
10
11
12
13
14
15
16
17
18
19
20
21
22
23
24
25
26
27
28
29
30
31
32
33
34
35
36
37
38
39
40
41
42
43
44
45
46
47
48
49
50
51
52
53
54
55
56
57
58
59
60
61
62
63
64
65
66
# 4.传递 props

# 5.方式二: 自己包装一个组件
文件1:
import React from 'react'
import {NavLink} from 'react-router-dom'

export default class MyNavLink extends React.Component {
  render() {
    return (
      <NavLink {...this.props} activeClassName="activeClass"></NavLink>
    )
  }
}
1
2
3
4
5
6
7
8
9
10
2
3
4
5
6
7
8
9
10
文件2:
import MyNavLink from './MyNavLink'  // 导入包装后的组件

<MyNavLink className="list-group-item" to="/about">About</MyNavLink> // 已经包含了activeClassName
<MyNavLink className="list-group-item" to="/home">Home</MyNavLink>
1
2
3
4
2
3
4
- 使用包装后的组件, 再也不需要写重复的 activeClassName