# 5.CircleCI
# 使用简介
注册 CircleCI
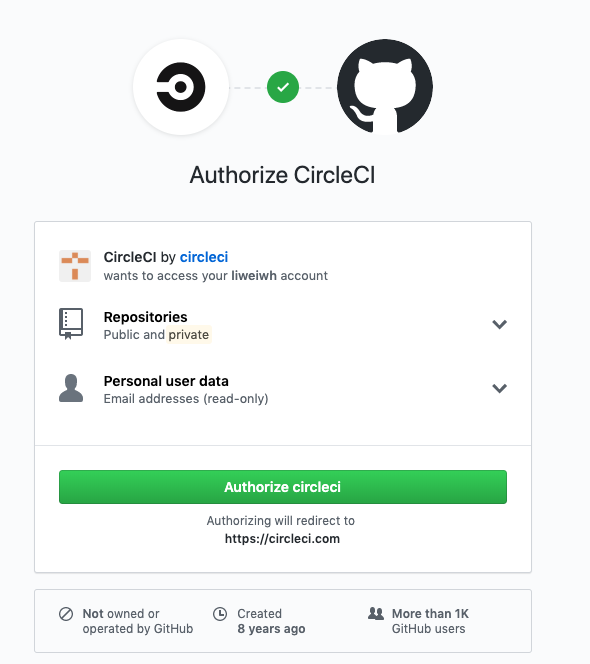
打开 CircleCI (opens new window) 官方网站,使用您的GitHub帐户登录。

进行授权:
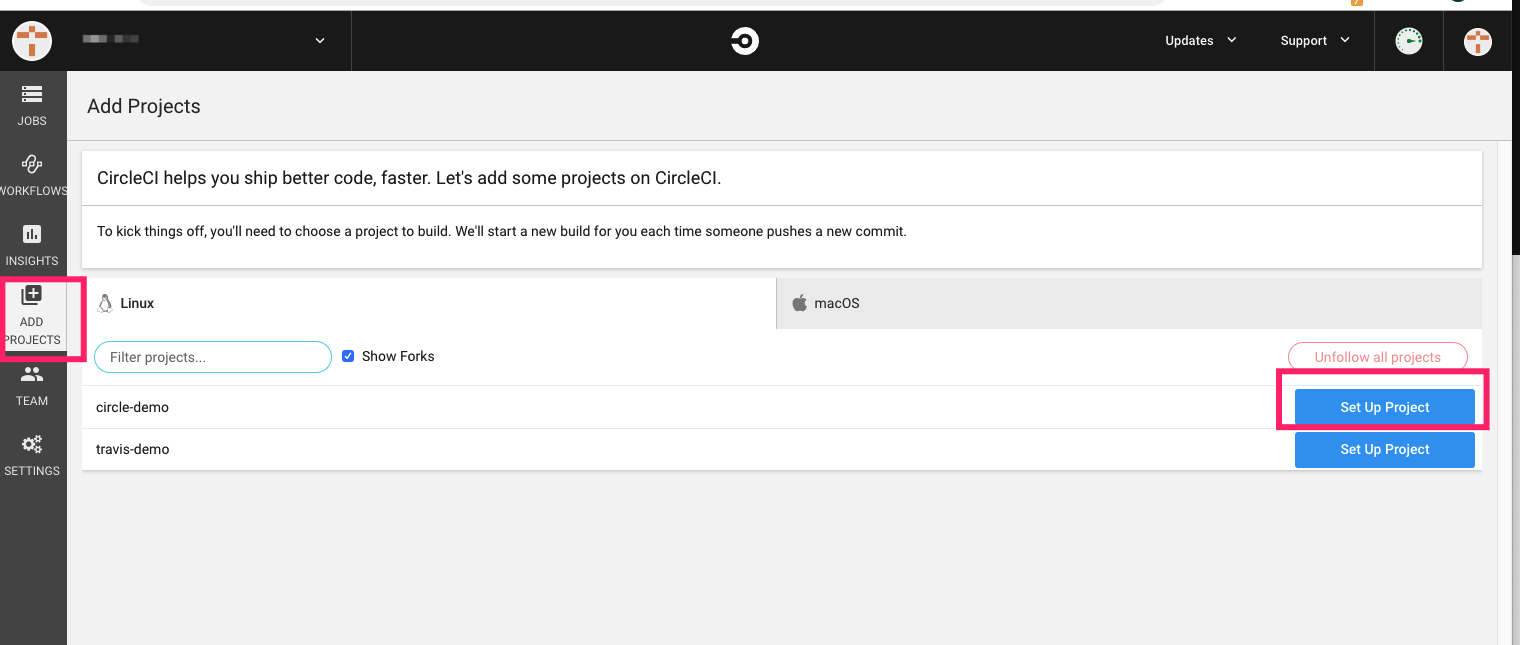
启动存储库
检查要在 CircleCI 上管理的存储库的开关按钮。
编写 config.yml
version: 2
jobs:
  build:
    docker:
      ...
    branches:
      ...
    steps:
      ...
		environment:
			...
1
2
3
4
5
6
7
8
9
10
11官方参考文档:https://circleci.com/docs/2.0/configuration-reference/#version
来看一个完事版的配置
version: 2
jobs:
  build:
    docker:
      - image: ubuntu:14.04

      - image: mongo:2.6.8
        command: [mongod, --smallfiles]

      - image: postgres:9.4.1
        # some containers require setting environment variables
        environment:
          POSTGRES_USER: root

      - image: redis@sha256:54057dd7e125ca41afe526a877e8bd35ec2cdd33b9217e022ed37bdcf7d09673

      - image: rabbitmq:3.5.4

    environment:
      TEST_REPORTS: /tmp/test-reports

    working_directory: ~/my-project

    steps:
      - checkout

      - run:
          command: echo 127.0.0.1 devhost | sudo tee -a /etc/hosts

      # Create Postgres users and database
      # Note the YAML heredoc '|' for nicer formatting
      - run: |
          sudo -u root createuser -h localhost --superuser ubuntu &&
          sudo createdb -h localhost test_db

      - restore_cache:
          keys:
            - v1-my-project-{{ checksum "project.clj" }}
            - v1-my-project-

      - run:
          environment:
            SSH_TARGET: "localhost"
            TEST_ENV: "linux"
          command: |
            set -xu
            mkdir -p ${TEST_REPORTS}
            run-tests.sh
            cp out/tests/*.xml ${TEST_REPORTS}

      - run: |
          set -xu
          mkdir -p /tmp/artifacts
          create_jars.sh ${CIRCLE_BUILD_NUM}
          cp *.jar /tmp/artifacts

      - save_cache:
          key: v1-my-project-{{ checksum "project.clj" }}
          paths:
            - ~/.m2

      # Save artifacts
      - store_artifacts:
          path: /tmp/artifacts
          destination: build

      # Upload test results
      - store_test_results:
          path: /tmp/test-reports

  deploy-stage:
    docker:
      - image: ubuntu:14.04
    working_directory: /tmp/my-project
    steps:
      - run:
          name: Deploy if tests pass and branch is Staging
          command: ansible-playbook site.yml -i staging

  deploy-prod:
    docker:
      - image: ubuntu:14.04
    working_directory: /tmp/my-project
    steps:
      - run:
          name: Deploy if tests pass and branch is Master
          command: ansible-playbook site.yml -i production

workflows:
  version: 2
  build-deploy:
    jobs:
      - build:
          filters:
            branches:
              ignore:
                - develop
                - /feature-.*/
      - deploy-stage:
          requires:
            - build
          filters:
            branches:
              only: staging
      - deploy-prod:
          requires:
            - build
          filters:
            branches:
              only: master
1
2
3
4
5
6
7
8
9
10
11
12
13
14
15
16
17
18
19
20
21
22
23
24
25
26
27
28
29
30
31
32
33
34
35
36
37
38
39
40
41
42
43
44
45
46
47
48
49
50
51
52
53
54
55
56
57
58
59
60
61
62
63
64
65
66
67
68
69
70
71
72
73
74
75
76
77
78
79
80
81
82
83
84
85
86
87
88
89
90
91
92
93
94
95
96
97
98
99
100
101
102
103
104
105
106
107
108
109
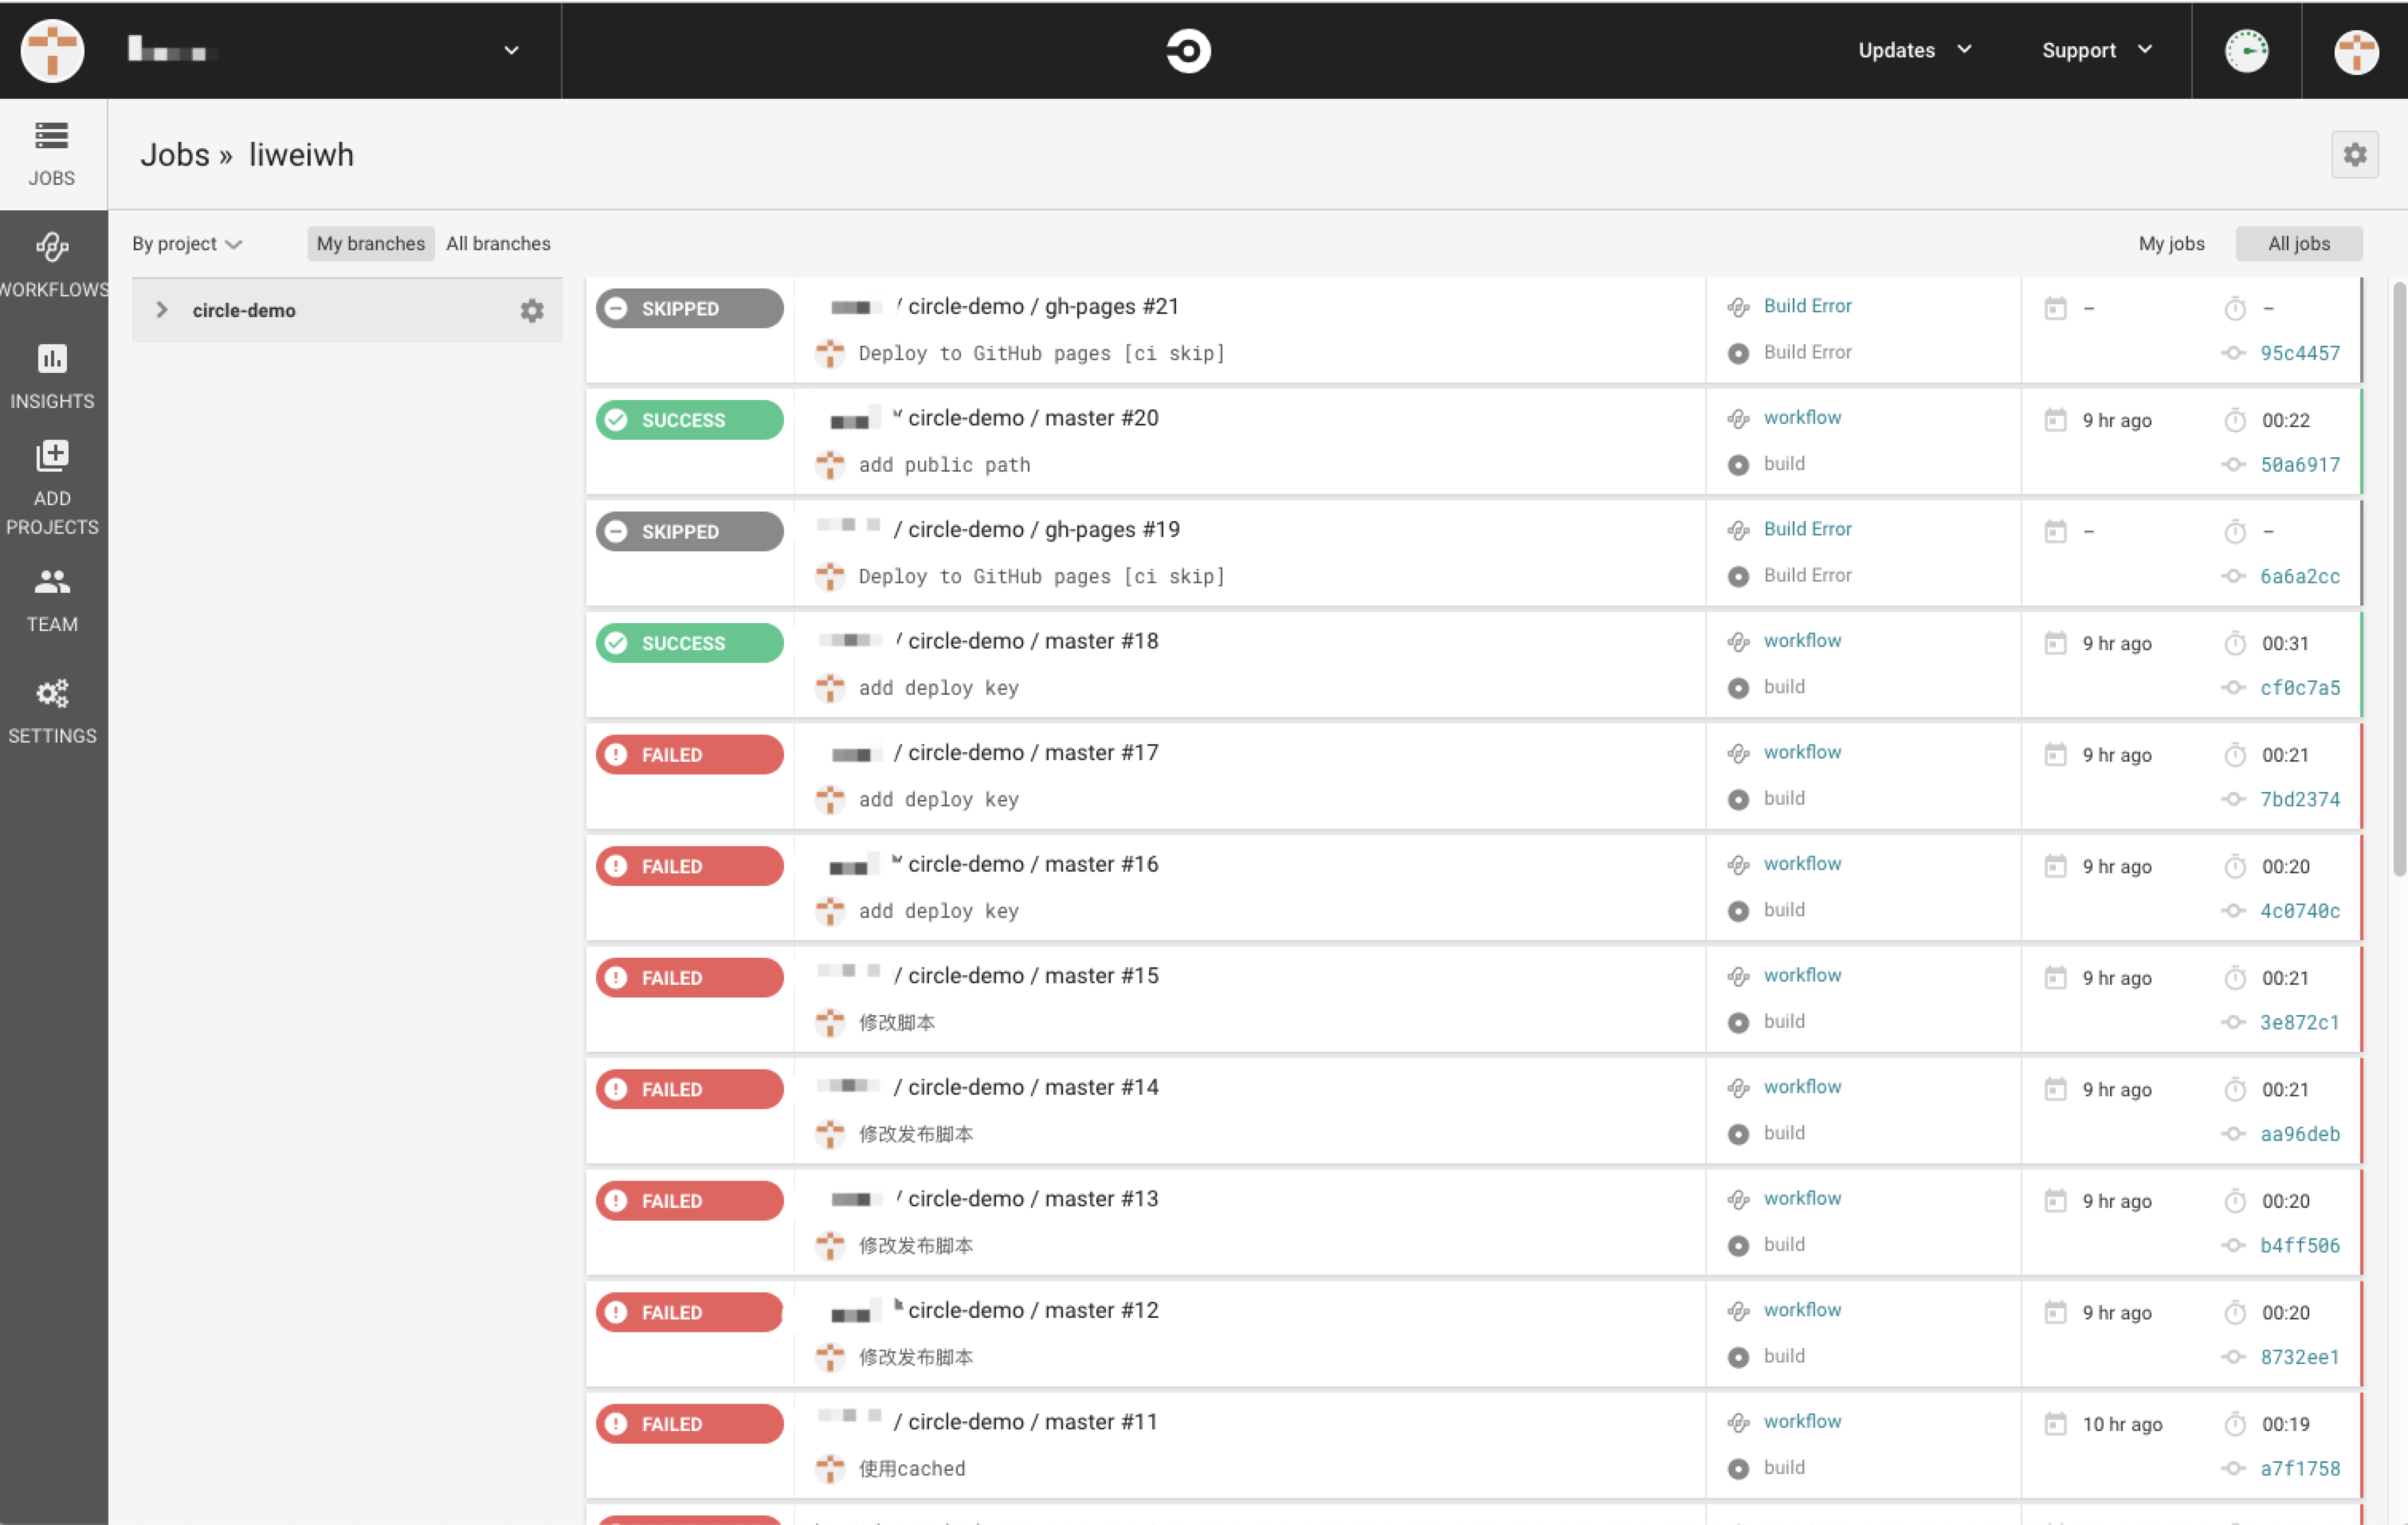
110设置/查看任务
# 配置Node.js应用
.circleci/config.yml配置文件
version: 2
jobs:
  build:
    docker:
      - image: circleci/node:10
    branches:
      only:
        - master
    steps:
      - add_ssh_keys:
          fingerprints:
            - "c5:20:8e:79:81:19:fd:c1:6c:c4:fb:41:58:92:9d:4f"
      - checkout
      - restore_cache:
          keys:
            # fallback to using the latest cache if no exact match is found
            - dependencies-
      - run:
          name: Install
          command: yarn install
      - save_cache:
          paths:
            - node_modules
          key: dependencies-
      - run:
          name: build github pages
          command: yarn build
      - run:
          name: Prepare shell commands
          command: chmod +x scripts/deploy.sh
      - run:
          name: Run deploy scripts
          command: ./scripts/deploy.sh
1
2
3
4
5
6
7
8
9
10
11
12
13
14
15
16
17
18
19
20
21
22
23
24
25
26
27
28
29
30
31
32
33
34
2
3
4
5
6
7
8
9
10
11
12
13
14
15
16
17
18
19
20
21
22
23
24
25
26
27
28
29
30
31
32
33
34
这里以发布到github page为示例:
deploy.sh文件的内容:
#!/bin/sh
# ideas used from https://gist.github.com/motemen/8595451

# Based on https://github.com/eldarlabs/ghpages-deploy-script/blob/master/scripts/deploy-ghpages.sh
# Used with their MIT license https://github.com/eldarlabs/ghpages-deploy-script/blob/master/LICENSE

# abort the script if there is a non-zero error
set -e

# show where we are on the machine
pwd
remote=$(git config remote.origin.url)

echo 'remote is: '$remote

# make a directory to put the gp-pages branch
mkdir gh-pages-branch
cd gh-pages-branch
# now lets setup a new repo so we can update the gh-pages branch
git config --global user.email "$GH_EMAIL" > /dev/null 2>&1
git config --global user.name "$GH_NAME" > /dev/null 2>&1
git init
git remote add --fetch origin "$remote"

echo 'email is: '$GH_EMAIL
echo 'name is: '$GH_NAME
echo 'sitesource is: '$siteSource

# switch into the the gh-pages branch
if git rev-parse --verify origin/gh-pages > /dev/null 2>&1
then
    git checkout gh-pages
    # delete any old site as we are going to replace it
    # Note: this explodes if there aren't any, so moving it here for now
    git rm -rf .
else
    git checkout --orphan gh-pages
fi

# copy over or recompile the new site
cp -a "../${siteSource}/." .

ls -la

# stage any changes and new files
git add -A
# now commit, ignoring branch gh-pages doesn't seem to work, so trying skip
git commit --allow-empty -m "Deploy to GitHub pages [ci skip]"
# and push, but send any output to /dev/null to hide anything sensitive
git push --force --quiet origin gh-pages
# go back to where we started and remove the gh-pages git repo we made and used
# for deployment
cd ..
rm -rf gh-pages-branch

echo "Finished Deployment!"
1
2
3
4
5
6
7
8
9
10
11
12
13
14
15
16
17
18
19
20
21
22
23
24
25
26
27
28
29
30
31
32
33
34
35
36
37
38
39
40
41
42
43
44
45
46
47
48
49
50
51
52
53
54
55
56
2
3
4
5
6
7
8
9
10
11
12
13
14
15
16
17
18
19
20
21
22
23
24
25
26
27
28
29
30
31
32
33
34
35
36
37
38
39
40
41
42
43
44
45
46
47
48
49
50
51
52
53
54
55
56
说明:
>/dev/null 2>&1的含义
文件描述符
当执行shell命令时,会默认打开3个文件,每个文件有对应的文件描述符来方便我们使用:
| 类型 | 文件描述符 | 默认情况 | 对应文件句柄位置 |
|---|---|---|---|
| 标准输入(standard input) | 0 | 从键盘获得输入 | /proc/slef/fd/0 |
| 标准输出(standard output) | 1 | 输出到屏幕(即控制台) | /proc/slef/fd/1 |
| 错误输出(error output) | 2 | 输出到屏幕(即控制台) | /proc/slef/fd/2 |
> 代表重定向到哪里?
例如:echo "123" > /home/123.txt 1 表示stdout标准输出,系统默认值是1,所以>/dev/null等同于1>/dev/null 2 表示stderr标准错误
& 表示等同于的意思,2>&1,表示2的输出重定向等同于1
# 参考资料:
← 4.TravisCI 6.扩展知识 →