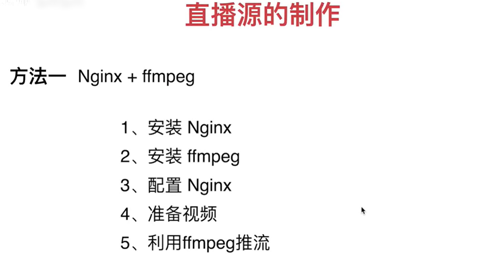
# 9.直播源的制作(方法一)
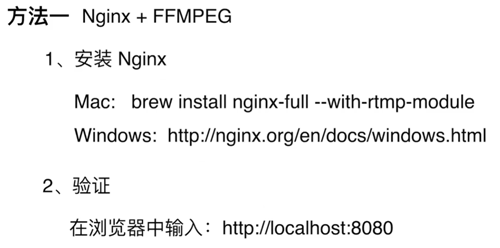
# 1.安装Nginx
# 1.1.百度网盘下载
- 下载nginx-rtmp-windows版
- 链接: https://pan.baidu.com/s/19nIPVU_2PuUnPSG_YZsd1Q
- 提取码: gpbx
# 1.2. 解压缩,解压后如下:
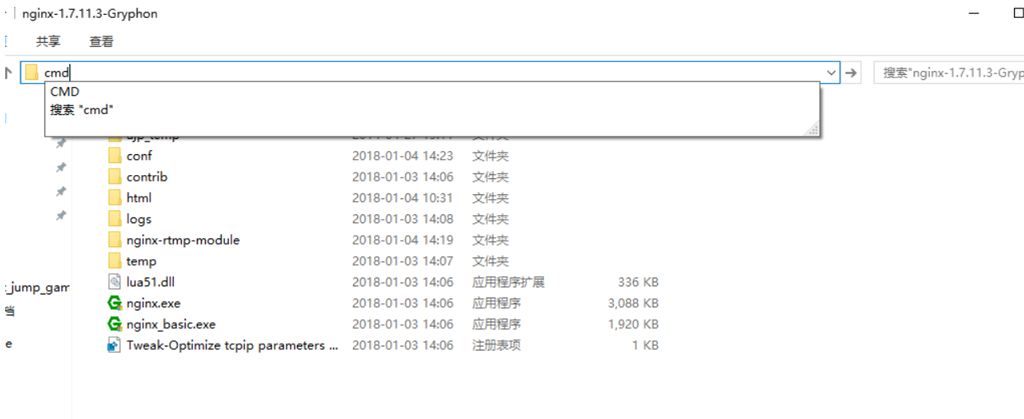
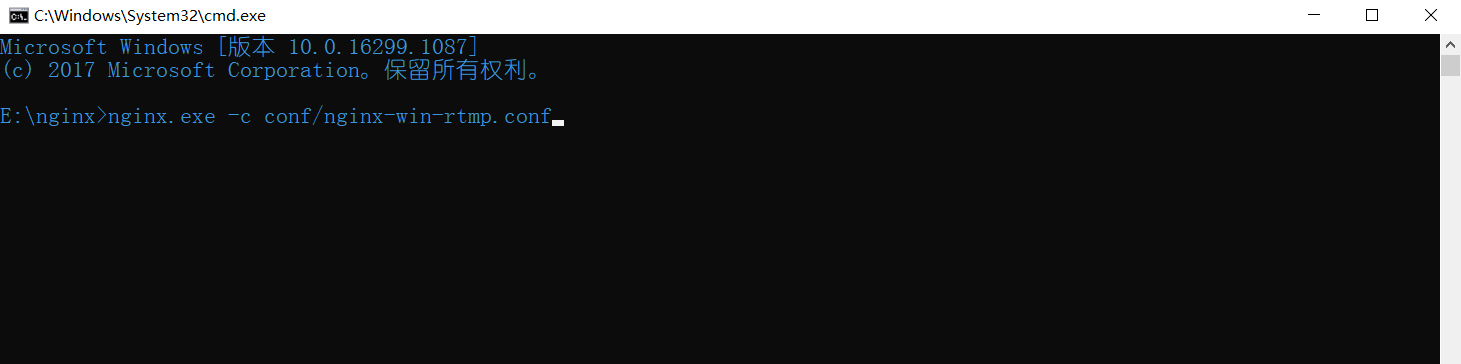
# 1.3. 启动nginx
- 输入在地址栏上输入 CMD 回车
- 输入命令 nginx.exe -c conf\nginx-win-rtmp.conf 启动nginx服务器
- 回车后没有任何提示,代表服务器已经启动成功了
# 1.4. 检查nginx是否启动成功
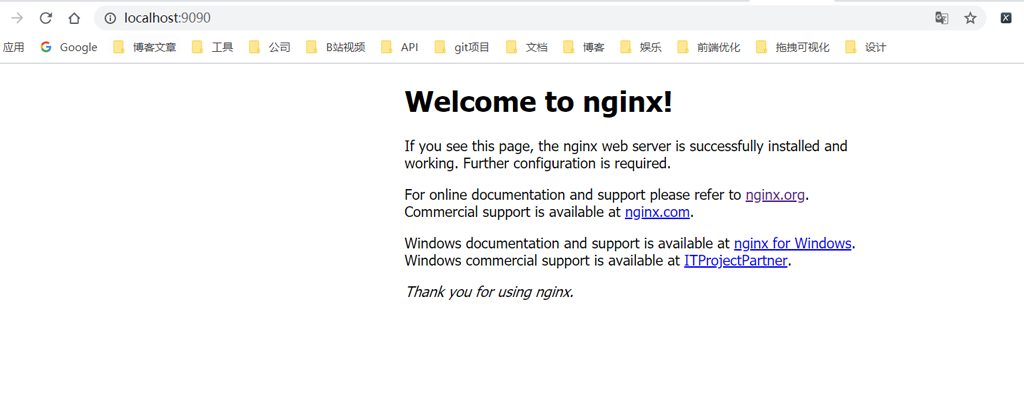
直接在浏览器地址栏输入网址 http://localhost:9090 (opens new window),回车,出现以下页面说明启动成功
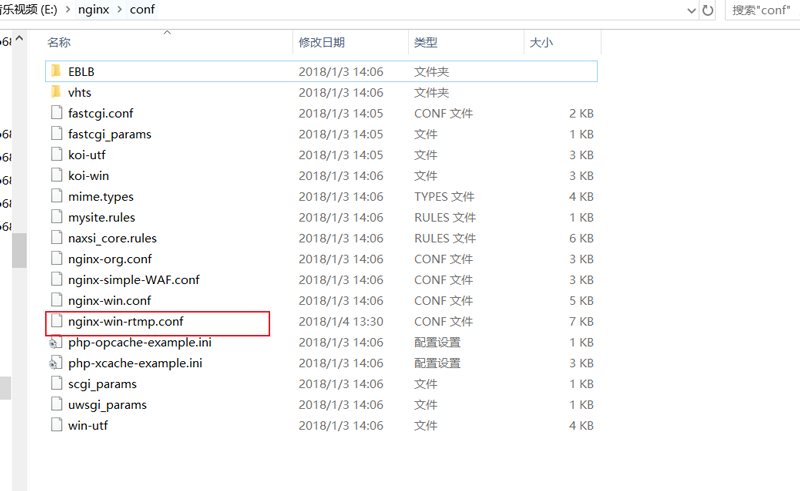
为啥是9090端口啊?为啥不是80端口? 莫急,马上讲解 。 咱们打开服务器目录下的 conf 文件夹 找到 nginx-win-rtmp.conf 文件
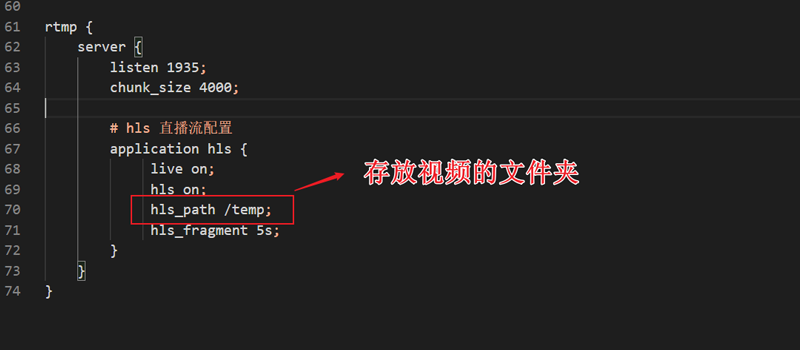
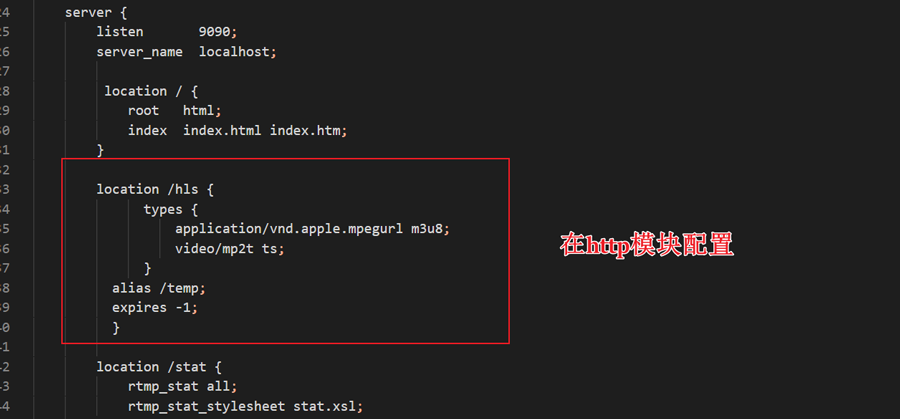
listen 9090 这个是端口号,具体的配置得去百度了: 以下是 hls配置 (需要配置2个地方, 我只修改了存放的文件夹)
修改配置文件需要停止, 重启服务即可 停止 nginx服务,
nginx -s stop
1
重启服务
nginx -s reload
1
具体的nginx.conf:
worker_processes  2;

events {
    worker_connections  8192;
}

http {
    include       mime.types;
    default_type  application/octet-stream;

    sendfile        off;

    server_names_hash_bucket_size 128;

    client_body_timeout   10;
    client_header_timeout 10;
    keepalive_timeout     30;
    send_timeout          10;
    keepalive_requests    10;

    add_header Access-Control-Allow-Origin *;
    add_header Access-Control-Allow-Headers X-Requested-With;
    add_header Access-Control-Allow-Methods GET,POST,OPTIONS;
    server {
        listen       9090;
        server_name  localhost;

         location / {
            root   html;
            index  index.html index.htm;
        }

        location /hls {
              types {
                  application/vnd.apple.mpegurl m3u8;
                  video/mp2t ts;
              }
          alias /temp;
          expires -1;
          }

        location /stat {
            rtmp_stat all;
            rtmp_stat_stylesheet stat.xsl;
        }
        location /stat.xsl {
            root nginx-rtmp-module/;
        }
        location /control {
            rtmp_control all;
        }

        error_page   500 502 503 504  /50x.html;
        location = /50x.html {
            root   html;
        }

    }
}

rtmp {
    server {
        listen 1935;
        chunk_size 4000;

        # hls 直播流配置
        application hls {
             live on;
             hls on;
             hls_path /temp;
             hls_fragment 5s;
        }
    }
}
1
2
3
4
5
6
7
8
9
10
11
12
13
14
15
16
17
18
19
20
21
22
23
24
25
26
27
28
29
30
31
32
33
34
35
36
37
38
39
40
41
42
43
44
45
46
47
48
49
50
51
52
53
54
55
56
57
58
59
60
61
62
63
64
65
66
67
68
69
70
71
72
73
74
2
3
4
5
6
7
8
9
10
11
12
13
14
15
16
17
18
19
20
21
22
23
24
25
26
27
28
29
30
31
32
33
34
35
36
37
38
39
40
41
42
43
44
45
46
47
48
49
50
51
52
53
54
55
56
57
58
59
60
61
62
63
64
65
66
67
68
69
70
71
72
73
74
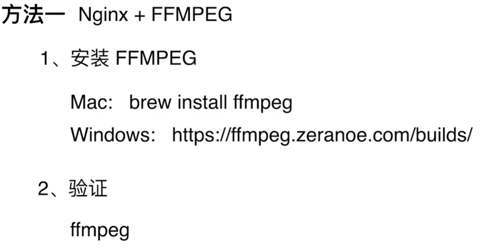
# 2.windows下安装 FFMPEG 进行推流
- 基本上只要做视频音频开发都离不开ffmpeg
- FFmpeg是一个自由软件,可以运行音频和视频多种格式的录影、转换、流功能
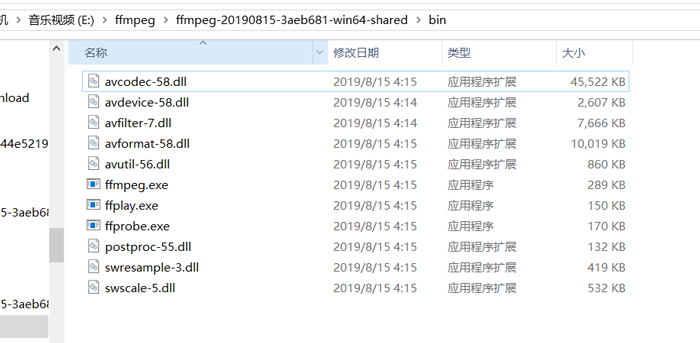
百度网盘下载地址:
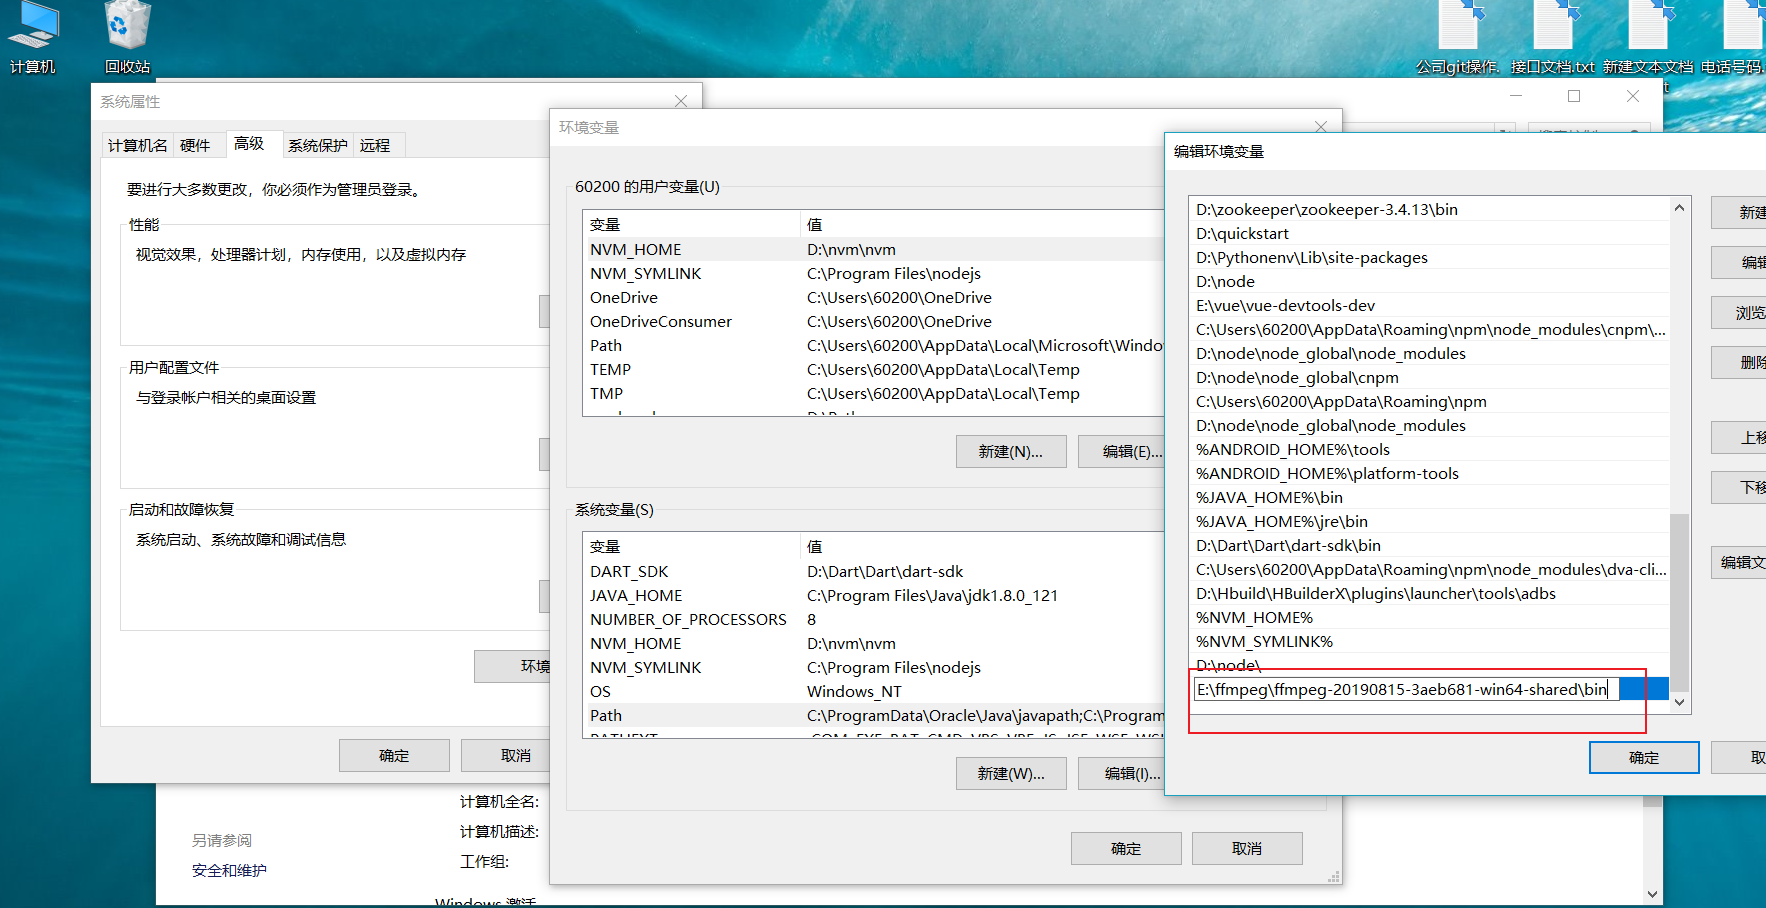
复制 \bin 文件夹的目录, 添加到系统环境变量中
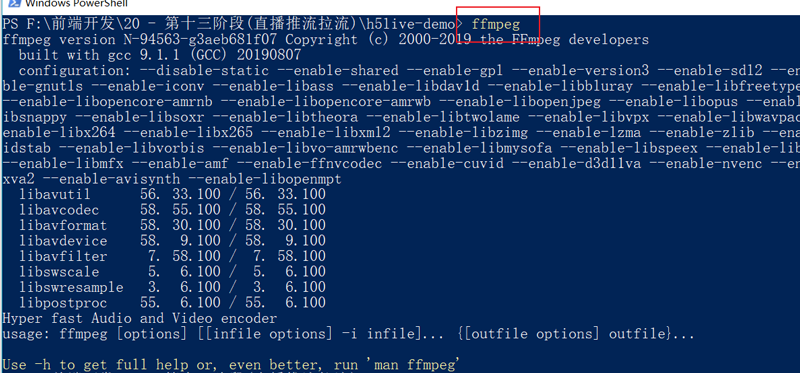
windowr+R键,运行cmd,输入ffmpeg,若显示如下,则表示安装成功了
测试视频直播:
- 在当前目录下放一个视频文件进行测试, 执行命令进行推流
- 以下这条命令,是把本地的视频流,推送到 rtmp://localhost:1935/hls/rtmp
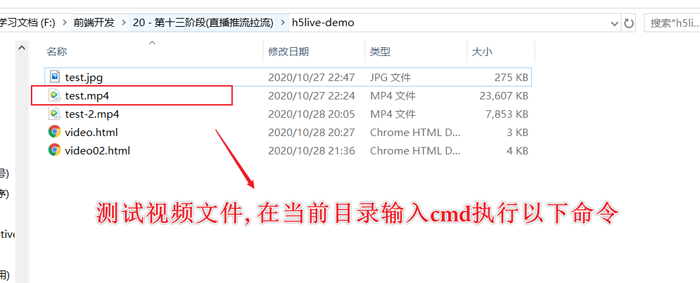
命令:
ffmpeg -re -i test.mp4 -vcodec libx264 -acodec aac -f flv rtmp://localhost:1935/hls/rtmp
1
- 注: rtmp://localhost:1935/hls/rtmp 是视频播放地址, hls 是在nignx配置文件配置的(不要乱写) rtmp是随意写的, 但是和你后面要访问的地址有关系
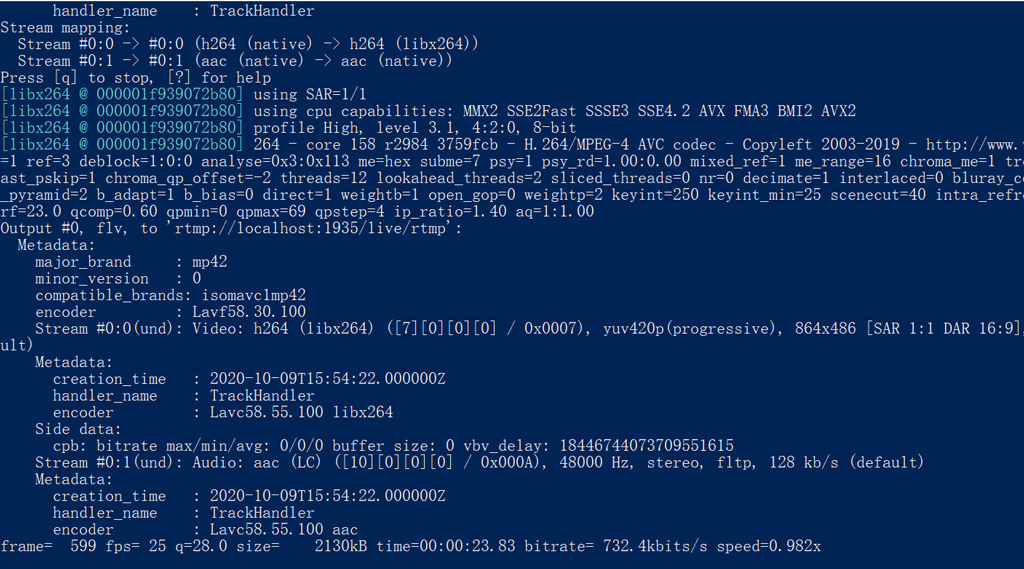
# 黑窗口中可以看到视频的一些数据,格式,分辨率,视频时间,播放时间等等数据
# 当看到以下画面, 说明正在推流
这时我们先ctrl+c结束命令, 我们需要安装一个播放器看效果
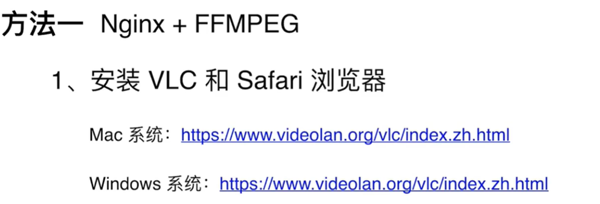
普通的播放器是识别不了 RTMP协议的, 我们需要安装
VLC播放器
# 在vlc播放器 打开 媒体>网络串流, 输入协议, 即可看到推流的视频

# 接下来模拟HLS推流, 是http协议, 支持在浏览器播放
ffmpeg -re -i test.mp4 -vcodec libx264 -acodec aac -f flv rtmp://localhost:1935/hls/stream
1
打开Safari浏览器中打开http://localhost:9090/hls/stream.m3u8进行访问
TODO:HTTP-FLV的推流方式相对复杂,后续进行补充
至此: 整个直播流的制作流程完成, 虽然视频播放卡的一批(不是重点, 后面会配置更详细标准的参数), 但是大致的流程就是这样!!!